
Kalpavruksha Articles & Blog
Tutorials, industry stories, historical analysis, and campus showcase highlights from our design team.
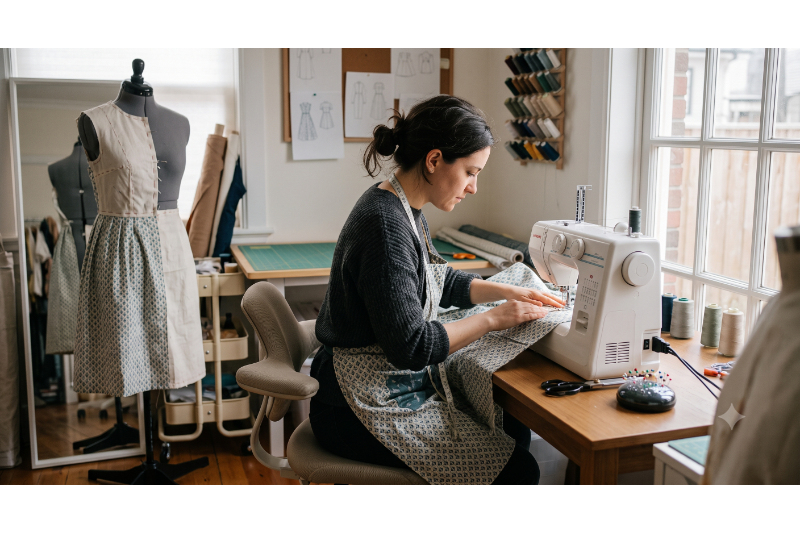
ART OF GARMENT CONSTRUCTION
Choosing a gorgeous fabric is easily the best part of sewing, but the magic actually happens during garment construction. It’s the process of turning a flat piece of textiles into a three-dimensional human silhouette.Whether you’re a beginner sitting in front of your first sewing machine or someone wondering why factory-made clothes fit the way they do, breaking down the construction process into distinct phases changes how you look at clothing.Phase 1: Preparation (The Crucial Foundation)Skipping preparation is the number one reason garments shrink, warp, or fit poorly after the first wash. Before you even touch a pair of shears, you have to prepare both the fabric and the pattern.Grainline Realignment: Fabric has a grain—the direction of the woven threads. If you cut a pattern piece slightly off-grain, the pant leg or sleeve will permanently twist around your body when you wear it.Stay-Stitching: This is a line of machine stitching done immediately after cutting, along curved edges like necklines and armholes. Because curves are cut on the "bias" (the diagonal of the fabric), they stretch out of shape easily just from being handled. Stay-stitching locks them in place.Phase 2: Structural AssemblyOnce your pieces are cut, the actual assembly begins. Think of garment construction as building a house: you have to follow a specific sequence so you don't accidentally "seal off" a room before finishing the inside.While every garment varies, the standard order of operations follows a precise logic:1.Shape Creation (Darts and Pleats):Step 1.Fabric is flat, but humans are curved. Darts (stitched wedges of fabric) and pleats are sewn first to create three-dimensional shaping around the bust, waist, and shoulders.2.Join the Main Seams:Step 2.Shoulder seams are sewn first, followed by side seams. This creates the basic "shell" or bodice of the garment.3.Construct and Attach Details:Step 3.Collars, pockets, and plackets are built independently and then attached to the main body while the garment can still be laid relatively flat.4.Set the Sleeves:Step 4.Sleeves are joined to the armscye (the armhole). This requires "easing" a slightly larger sleeve cap into a smaller armhole to allow room for shoulder movement.5.Closures and Hemming:Step 5.Zippers, buttonholes, and buttons are added last. Once the garment fits perfectly, the bottom hem and sleeve cuffs are finished.Phase 3: The Secret Elements (Interfacing & Finishes)What separates a "homemade" looking garment from a professional, high-quality piece boils down to two things: internal structure and seam finishes.Interfacing: The Hidden HeroHave you ever wondered why a shirt collar stays crisp or a coat front holds its shape? That’s thanks to interfacing—an extra layer of fabric hidden between the garment and the facing. It adds stiffness and prevents high-stress areas (like buttonholes) from tearing.Seam FinishesRaw fabric edges will fray to pieces inside the washing machine if left bare. A clean garment construction workflow requires finishing every single seam.Finish TypeBest Used ForWhat It DoesPinked SeamsStable wovens (wool, crisp cotton)Cut with zigzag shears to slow down fraying.Serged / OverlockedKnits and everyday apparelTrims the edge and wraps it in thread loops simultaneously.French SeamsSheer or delicate fabrics (silk, chiffon)Encloses the raw edge entirely inside a double-folded seam.Bias Bound (Hong Kong)Unlined jackets and luxury coatsWraps the raw edge in a strip of silk or satin binding for a gorgeous inside look.The Golden Rule of Garment Construction: Press every seam as you sew it. Do not wait until the garment is finished to iron it. Pressing melts the stitches into the fabric fibers, turning a lumpy, home-sewn seam into a crisp, professional line.Why Understanding Construction MattersWhen you understand how a garment is built, you become a smarter consumer and a better designer. You can look at a dress on a store rack, check the seam finishes, look at the pattern matching on the side seams, and instantly know if it’s worth the price tag.Garment construction isn't just about operating a machine—it's engineering with fabric.

The Power of CAD in Modern Garment Drafting
Computer-Aided Design (CAD) has revolutionized how pattern-makers work. Rather than drafting exclusively on paper, digital files allow instant modifications, ease-allowance calculations, and print nesting. In this post, we look at the core benefits of digital drafting and how we teach CAD in our 6-month Pattern Making course.

Embellishing Surface Textures: Embroidery Basics
Surface ornamentation is what elevates a basic garment into a luxury artwork. Hand embroidery, beadwork, and fabric art add texture dimensions that machines cannot replicate. Here, we outline the fundamental tools needed for fabric embellishments and how our advanced certification program equips students with these skills.